Managing Your Customer Portal Account Profile
TranscribeMe! provides multiple layers of file management for all of our diverse client base. The first and most basic layer is the Customer Portal Account. Customer Portal Accounts are created by and tied to individuals based on their email addresses as usernames. Stand alone individual Customer Portal accounts are what TranscribeMe! refers to as our Retail customers.
The second layer is our Company accounts, which essentially allow for customized billing, invoicing and customized output based on Company agreements. Any individual who is part of a company account has their Customer Portal accounts linked to the company accounts.
The third layer is our SFTP accounts which are used in our Legal and HIPAA compliant process to ensure the absolute top-most in security and confidentiality.
Accessing Your Customer Portal Account Profile on the TranscribeMe! Portal Platform
1
2
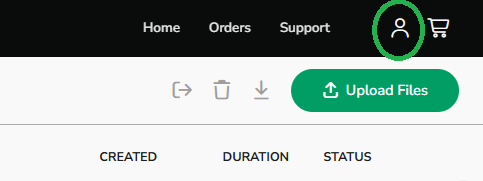
Click the My Account icon in the upper-right corner of your screen.
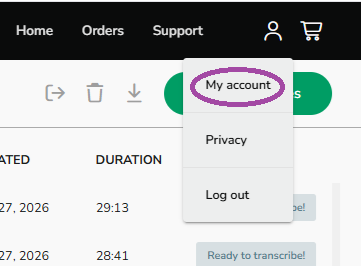
And click on My Account.
3
The My Account profile screen has 4 options on the left hand side menu of the My Account home screen. The landing page of the My Account screen is called the 'My Profile' page. TranscribeMe! .
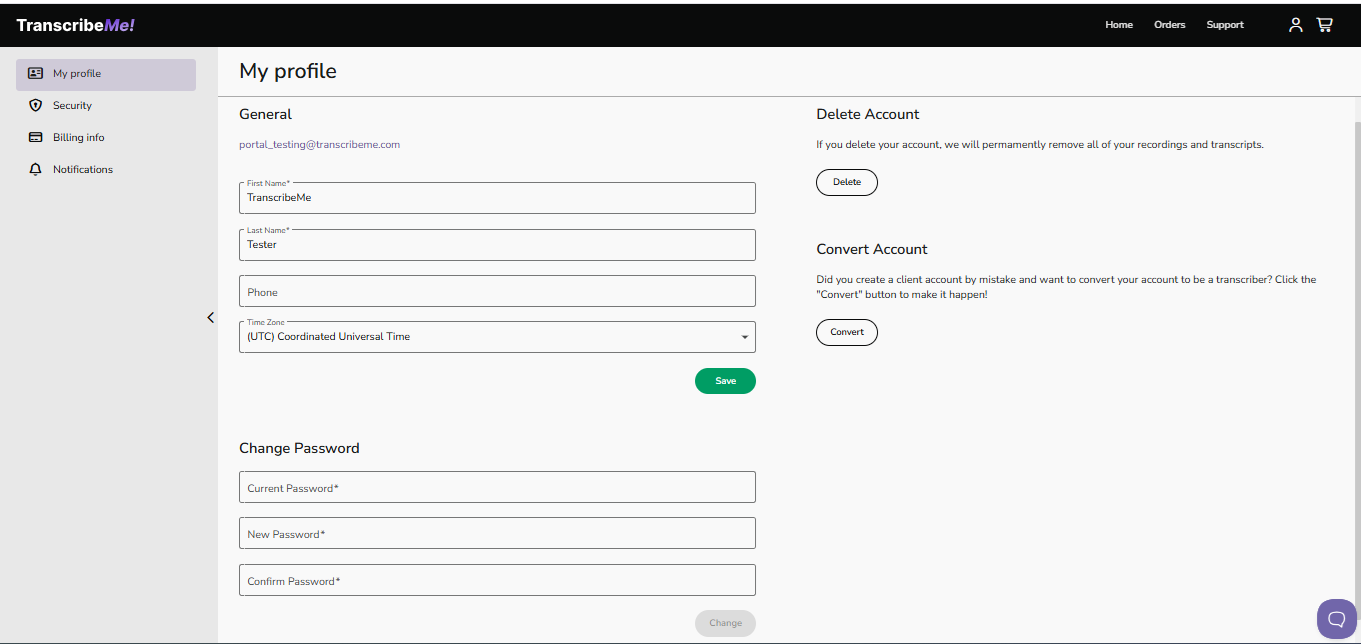
a) On the My Profile page you can do the following actions:
i) Provide your general information about yourself, such as your Name, phone number (optional) and time zone in which you live. Once you have filled this information in you need to hit the green save button for it to update your profile.
ii) Delete your account. When you push the Delete account button you will see a warning message pop up basically asking if you are sure you want to delete, and letting you know that all of your data will be gone, and any files currently being worked on will be stopped without any refunds. You then need to push 'Delete' to continue and have your account deleted.
iii) If you created a Customer Portal account, but you actually wanted to be a freelancer and become a transcriptionist you can Convert your account here by pushing this button as well. It again warns you that all data will erased and any in progress files will be stopped without any refunds. If you wish to continue you then push the green 'Convert' button.
iv) You can also change your password on the My Profile page. Once you have filled in your current password, then the new password you want, and confirmed it, the 'Change' button will then turn green and you can click it to change your password. Please note that the TranscribeMe platform currently requires a password be changed every 180 days. Also, your password must have at least 10 characters and consist of digits, lower and upper case Latin letters.
b) The second page available is the Security page. This page will allow you to choose the security on your account for signing in. Your choices are to use your Username (email address you signed up with) and Password, or Link your Google account to have a Single Sigh on.
c) The third feature is the Billing page. On this page you can update your credit card information, and your billing information.
d) The last feature is the Notifications feature page.Clicking on this page will allow you to set whether or not you want to have your completed transcript attached to the email notification telling you your transcription is completed. The default is no notifications which looks like the window below:
i) To start receiving notifications, click the Notifications tab on the left and then turn on 'Notifications' by sliding the radial button from the left to the right. It will turn to the color purple and the Save button at the bottom will turn green. To save this new status you must hit the 'Save' buttton.
ii) The default language of the emails send for Notifications is Englsih. turn on 'Notifications' by sliding the radial button from the left to the right. It will turn to the color green and the Save button at the bottom will turn green. To save this new status you must hit the 'Save' buttton.
urn on Attach Transcription to Email by clicking on the button that is to the right of the words 'Attach Transcription to Email', sliding the radial button from its default position on the left to the right, so the button turns purple, and clicking on Save.
You will now receive delivery notifications with your transcript attached.
We hope this article was useful to you. If you have any questions about this process, please write to us at support@transcribeme.com.
ii)
Uploading Files


